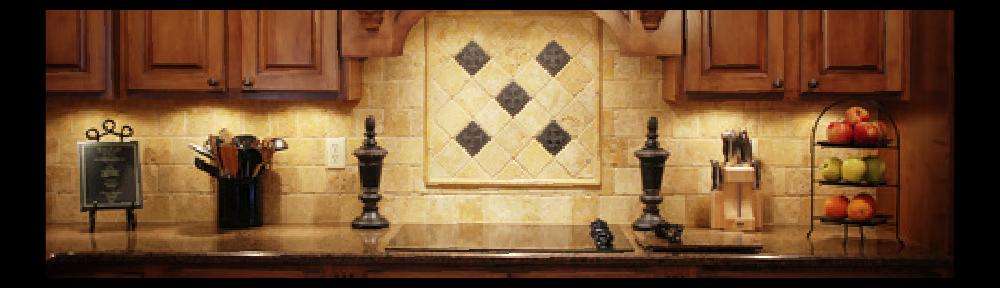
Stone countertop restoration is what we do for a living, so we have some strong opinions about it. In many cases, the kitchen countertops are the most valuable, most beautiful and most noticeable part of the kitchen, which is the ‘heart’ of a home.
Most valuable translates, for one thing, into most expensive. You can buy some marble tiles, for example, for about $10 per square foot. Fine for a floor. But for a marble countertop, you can easily spend $100 per square foot and much more. So the same material as a countertop can easily cost 10 times what it would be on a floor! (Part of that difference is the thickness…but that’s not the whole story).
Why do we pay so much more for our stone countertops?
There are some reasons…
The shopping and selection process is different from the start. For granite and marble countertops, you can shop in a stone yard for individual slabs. You accept or reject the exact piece that will end up in your kitchen. So it can be a personal choice from the start – you want that particular stone.
And often the look of the stone dominates and defines the overall look of the kitchen. Your kitchen is already the most expensive room in the house to begin with. Of course, we notice the stone surface more than a floor, since it’s closer to our eyes than a floor. And of course, we want it to be clean and cleanable, since it’s a food prep surface. So any imperfections are more noticeable than they would be on a floor. We couldn’t say it any better than marble.com –
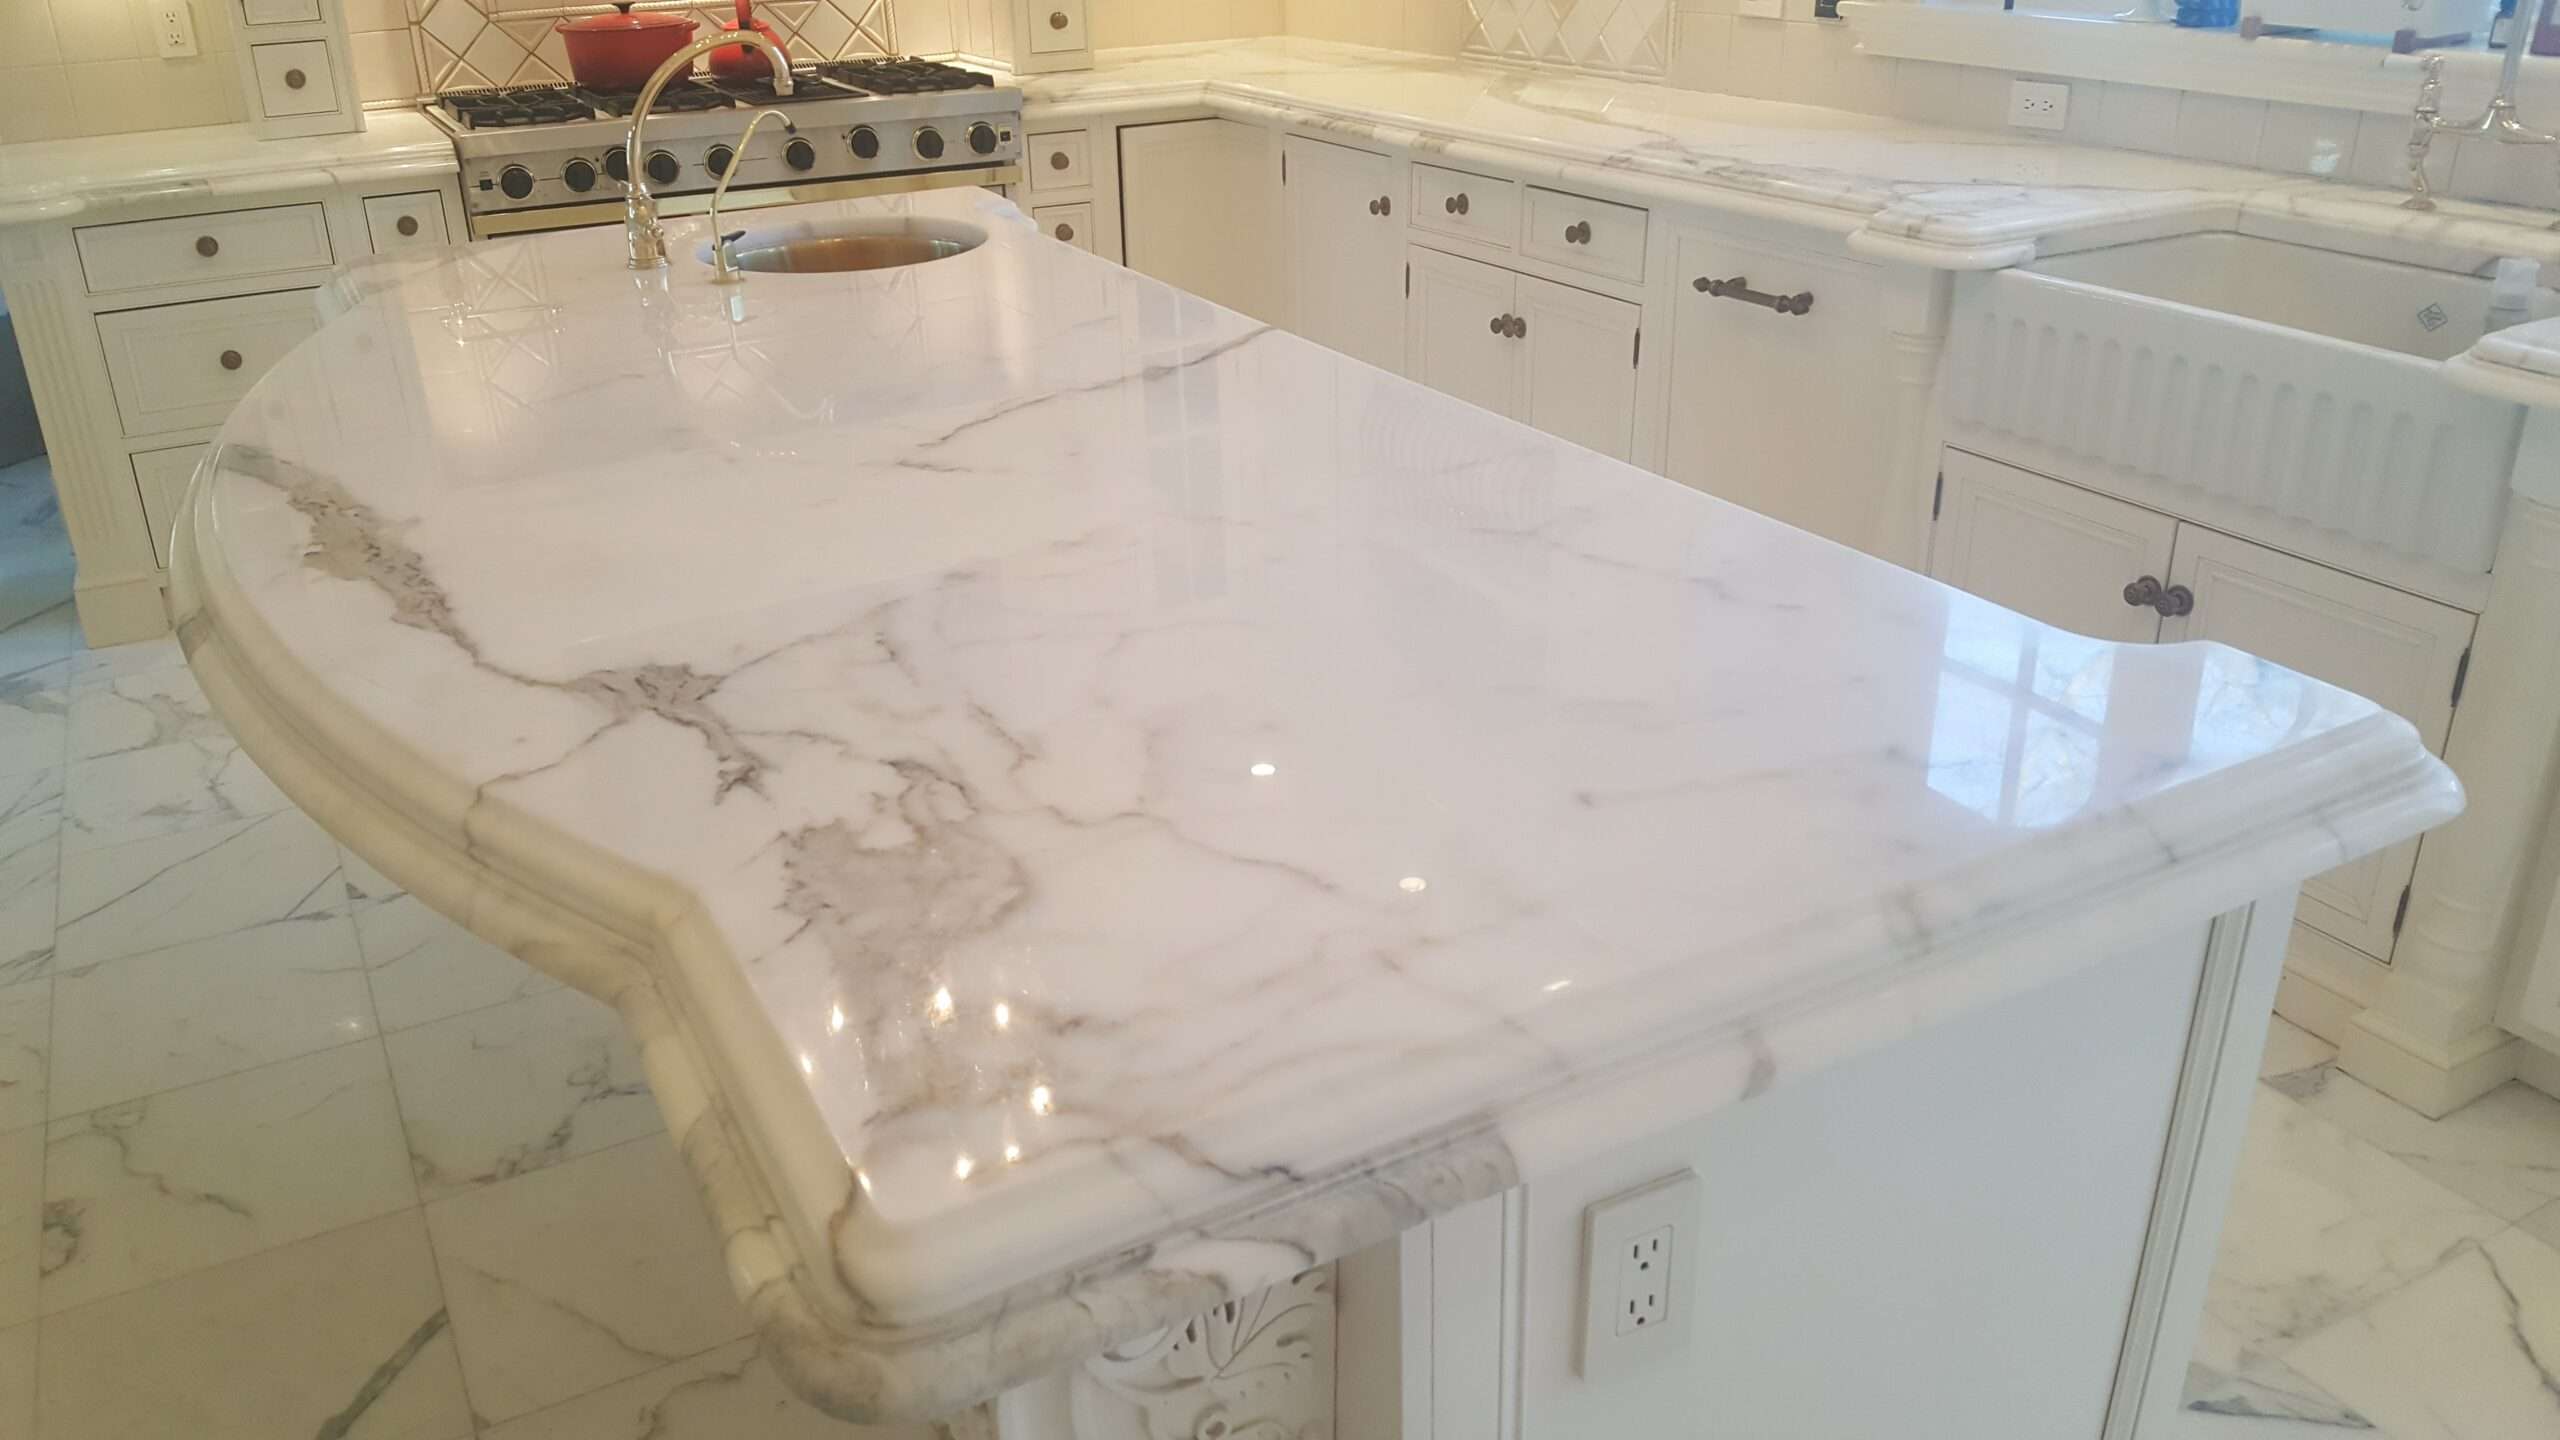
“Marble is truly one of the most elegant natural stone materials that you can have in your home. Whether you have a marble kitchen countertop, bathroom countertop, backsplash or any other structure, marble will bring a touch of elegance to your space…There is a reason that some of the world’s most famous structures and statues are built of this stone – it represents pure beauty.”
And last but not least, don’t forget that in addition to the sheer enjoyment from having something beautiful and elegant to see every day, your property value goes up with a well-maintained stone installation.
But There Are Times When Your Countertop Needs Some Help
If you have scratches, stains or etch marks, you might think about replacing just the countertops. But there is a problem with that approach. Your existing countertop may not ‘demo out’ cleanly. A contractor trying to remove just the marble may end up damaging the cabinets or tile backsplash and walls. Once you now need to replace the cabinets and wall surfaces as well as the countertops, congratulations, you just earned yourself a full kitchen remodel, whether you wanted one or not! Even if a contractor tries to remove just the counters, there’s a risk that the project might dramatically grow.
It may make more sense to look into restoring the stone. Fortunately, most stone appearance problems are fixable.
A Typical Marble Countertop Restoration, From Start to Finish

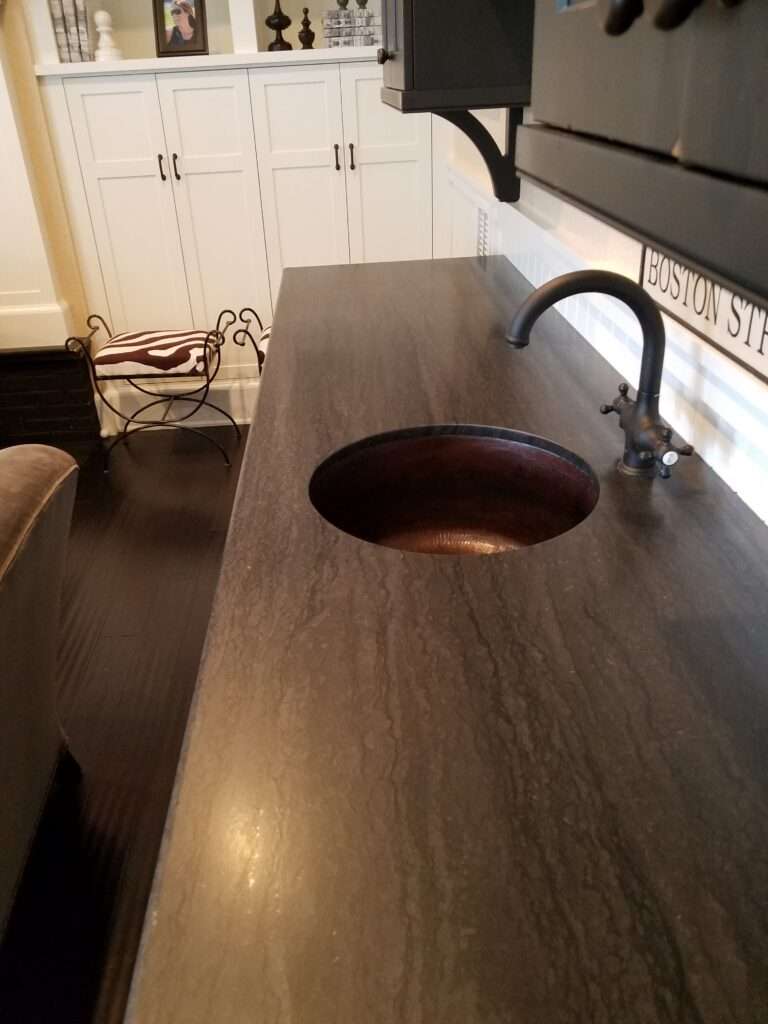
Let’s take marble countertops first. Marble in this case includes limestone and travertine, since they’re chemically similar. While these stones are drop dead gorgeous, they are acid sensitive, so they can have acid etch marks. They are softer physically than granite, so they can scratch more easily.
After we’ve talked over the project with our client, set a task list and pricing and the client accepts and we set a date, this is what happens on the day of the job. Most average size kitchens take one day, larger ones may need two.
- First we review the job and explain the steps we need to take. Usually just a few minutes.
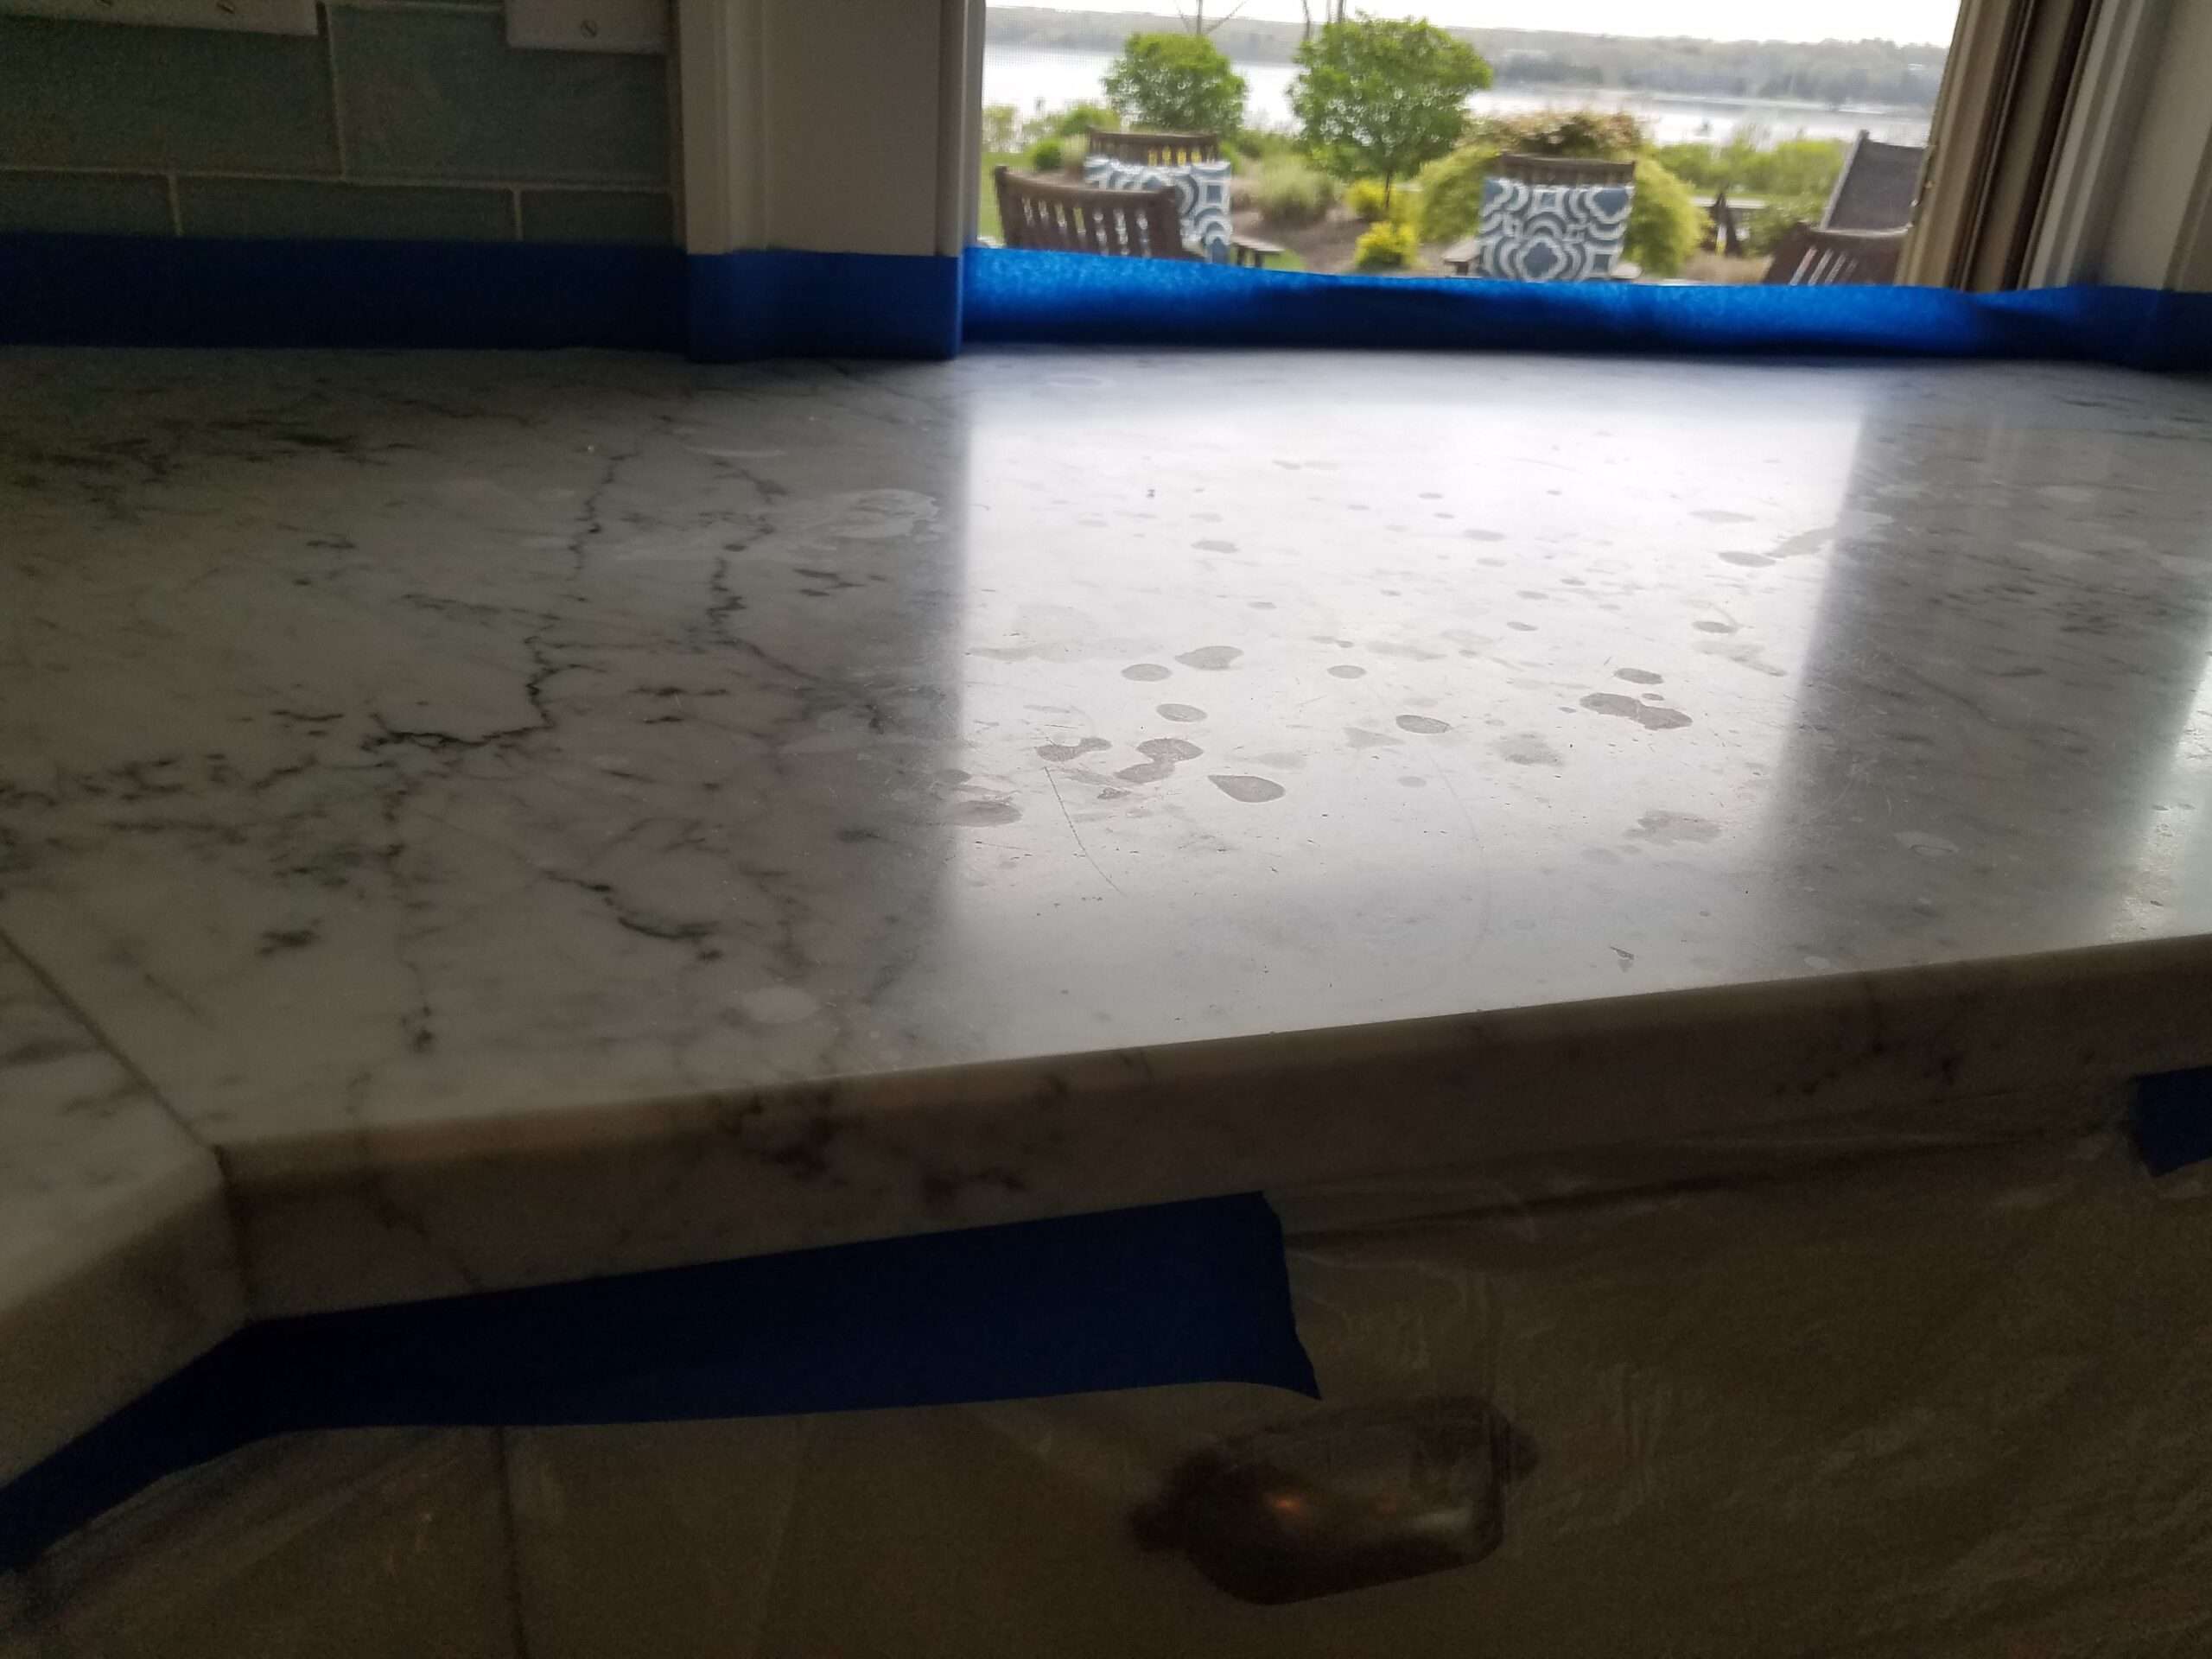
- We protect surfaces adjacent to the countertops, like cabinets, walls and appliances and protect the floor with plastic drop cloths. The ‘sanding’ process creates dust, which we keep wet so it won’t be airborne. Water mixed with marble dust equals marble slurry, and most of it ends up on the plastic drop cloths. It can take over an hour to get the drop cloths set up well, but it’s worth it because it makes the final cleanup a breeze.
- Then we select a diamond abrasive pad to start the honing process. The grit system for our pads is the exact same system as sandpaper uses. So a piece of 100 grit sandpaper is about the same as our 100 grit diamond pads. The diamonds are bonded into a plastic resin mold in the shape of a disk. A common size is a 7 inch round disk. And the disk goes on to a polishing tool (we’re partial to the Makita brand!)
- A believable starting point for us might be a 50 grit disk to start for any areas with deeper scratches or severe etching. Then we need to follow up with 100 grit disks, to cover over the scratch pattern from the 50. The industry standard is to double the grit number with each change of grit, so 50, 100, 200, 400 and so on.
- By the time we get to 200 or maybe 400 grit, the finish is smooth, clean and honed. At this point in the process, there is no noticeable shine. Not sure if you like a low sheen look? This is a perfect time for the homeowner to come and take a look. If this look is what you decide you want, then we’re done with the honing and we proceed to cleaning the stone, step 9.
- If you decide that you definitely want a polished finish, we continue with increasingly finer grits of diamonds, several more passes until the stone has a slight glow.
- We often switch to a super soft diamond type that’s loaded onto a flexible nylon pad. These newer style pads are very useful for blending areas together and achieving a more robust shine.
- The biggest boost in shine is marble polishing powder, the last step for a high gloss finish.
- We wash down the stone with pH neutral cleaner and multiple rinses to get off any slurry residue and make sure the stone is squeaky clean!
- This is the time to apply a fresh coat of sealer. There is a plain clear penetrating sealer that doesn’t change the appearance of the stone, or we may opt for a stone color enhancing sealer that’s perfect for darker colored stones. It adds a depth of color that is the perfect final touch for black, dark brown or dark green stones.
- The last step is removing the plastic and cleaning up the area from any stray flecks of marble residue, including wiping down any spots on vertical surfaces and washing and rinsing floors. (Don’t you hate it when contractors don’t clean up after themselves??)
A Typical Granite Countertop Restoration From Start to Finish
Granites are much physically harder than marble, so they tend to resist scratching very well. Most are not acid sensitive, but some are slightly acid sensitive. Granite usually has no ‘veining’, which is one of the things people find attractive about marble. Some stones like Juparana and Paradiso Bash do have wavy looking motion, so they are popular. (Those more wavy looking stones are often super porous, so we recommend sealing them more than other stones).
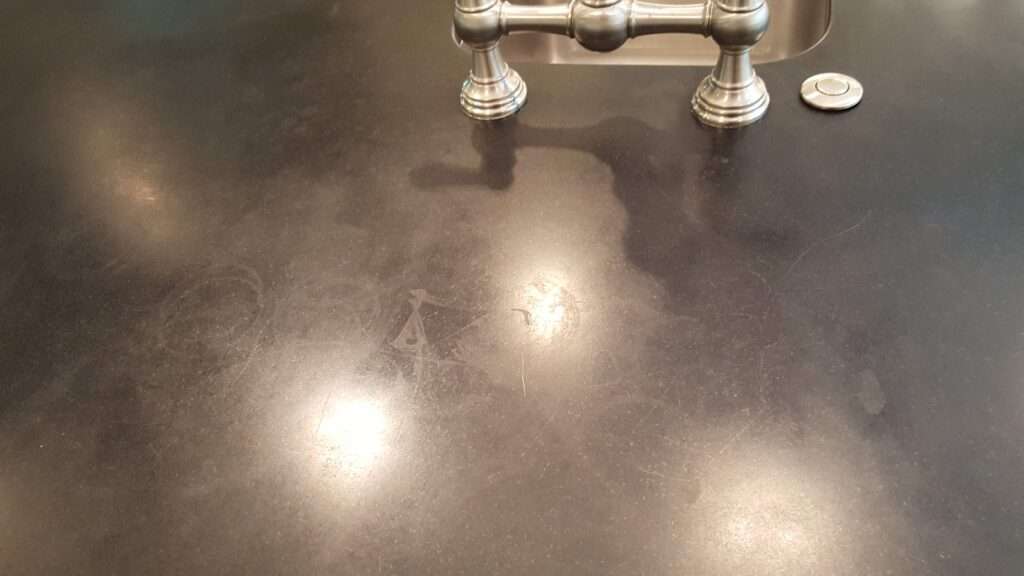
Most commercially popular granites never need diamond honing and restoration, in fact. They may need a chip repaired, or they could stand a heavy-duty cleaning and sealing, but in most cases we don’t have to break out the diamond pads for granite surfaces. One stone we’ve dealt with quite a bit lately is honed Absolute Black.
Absolute Black is a gorgeous stone quarried mostly in Africa, India and Europe. As a general rule, it’s not porous at all. Any sealer won’t sink inside the stone, but may simply stay on the surface. Over time, the sealer residue can combine with soils and cooking oil so it starts to show what looks like water rings on marble. Routine cleaning may not be enough at this point to eliminate the marks. So for Absolute Black, this is what the restoration project looks like.
After we’ve talked over the project with our client, set a task list and pricing and the client accepts and we set a date, this is what happens on the day of the job.
- First we review the job and explain the steps we need to take. Usually just a few minutes.
- We do a deep cleaning of the stone with high pH alkaline cleaning liquids and fine steel wool. This step usually has to be repeated multiple times.
- Some marks may need a bit of diamond honing at this point, but many granite jobs don’t require it, so we need to be flexible and respond to the stone itself. If we need to do a significant amount of diamond honing, we will put plastic drop cloths up first.
- We rinse multiple times to remove any residue, and we may rinse with alcohol as well to get the last bit of sealers/oils off.
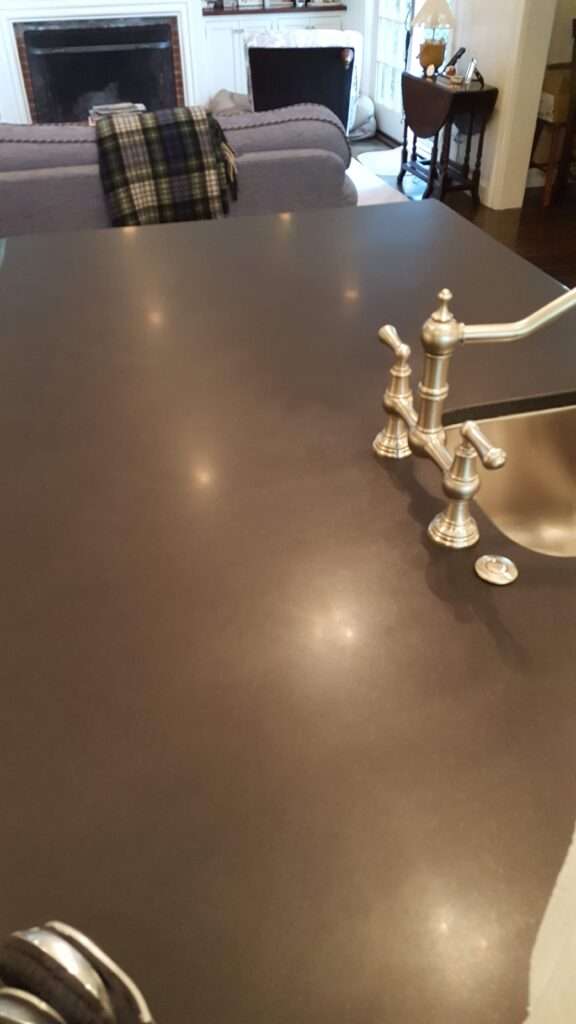
- Honed Black Absolute is not a deep rich black. It gets black by being highly polished. Honed stone loses color, so after this cleaning, it may look lighter than before. That’s because the oils/sealer made it look blacker. The homeowner may be fine with the ‘new’ lighter color or may prefer we enhance the color of the stone. There are pigment based ways to add color, or we can use a stone color enhancing sealer, which is usually faster to apply.
- Final step is to clean the area well so homeowner is not inconvenienced.
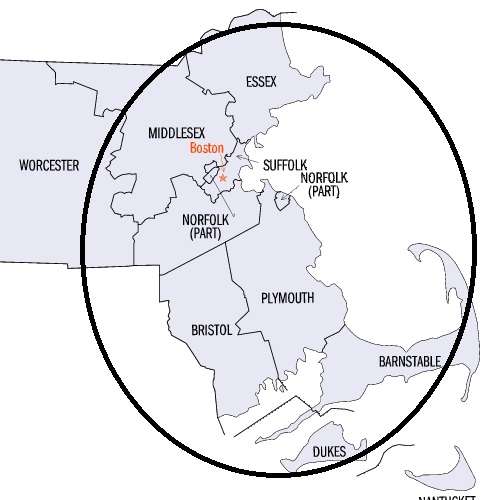
If you have any concerns about countertop restoration or routine maintenance, cleaning, sealing or any other issues, feel free to get in touch. We won’t pressure you or engage in any high-pressure sales tactics, just give you honest advice and if you would like a quote on stone countertop restoration or any other service, we’ll put it in writing and stick to it. You can call or text us at 617-221-4002 or just fill out the form below. We cover metro Boston and pretty much all of Eastern Massachusetts.
Our contact information:
Act One – Marble and Tile
15 Main Street # 138
Watertown MA 02472-4403
https://cleanpolishmarblegraniteboston.com
617-221-4002 Text or Call